


How to Roll a Joint
Learn how to roll a joint with these simple steps! From grinding your cannabis to sealing and finishing touches, we've got you covered.
For those seeking to master the craft of joint-rolling, this guide will provide a comprehensive overview of the necessary steps. Rolling papers are an essential part of any smoking experience and rolling the perfect joint is an art form in itself. In this blog post, we'll take you through six simple steps that will help you master the entire joint-rolling process.
From selecting your preferred rolling paper size and type, grinding your herbs and spreading them evenly on the paper, shaping and tucking before sealing with moisture, to finishing off with style using our tips for a smooth burn - we've got it all covered.
Whether you're new to rolling or want to improve your technique, these easy-to-follow steps will guide you towards achieving that perfectly rolled joint every time. So let's get started on learning how to roll a perfect joint today!
Table of Contents:
- Materials Needed
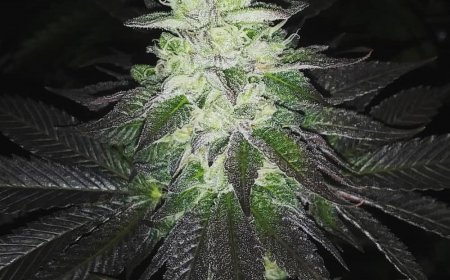
- Grinding Your Cannabis
- Creating The Filter/Crutch
- Rolling The Joint
- Sealing And Finishing Touches
- Conclusion
Materials Needed
When it comes to rolling a joint, the materials you need are essential for a successful smoke. First and foremost, you’ll need cannabis flower. It’s important to make sure that your bud is ground up before attempting to roll it into a joint. A grinder will do this quickly and easily so that all of the pieces are an even size for consistent burning during smoking. Rolling papers should be made from hemp or rice paper as these won't affect the flavor of your weed like some other types of papers can. Finally, you'll want something to act as a filter or crutch at one end of your joint; this helps keep everything together while smoking and also provides an easier way to hold onto your joint without getting sticky fingers.
Once you have all of these materials gathered up, it is time to start grinding the bud.
Obtaining the items necessary for rolling a joint is a fundamental initial move in the procedure. With your supplies ready, you can now move on to grinding your cannabis for rolling.
Choosing the Correct Rolling Papers
Rolling papers are an essential part of smoking cannabis, and it’s important to choose the right ones for your joint or spliff. The two main types of rolling paper are made from either rice papper or hemp.
When selecting your rolling papers, you should also consider size. Standard-sized papers measure about 70mm x 36mm; however, there are larger sizes available if you want to roll up something extra special!
King-size papers typically measure around 110mm x 44mm – perfect for when you want to pack in some serious amounts of herb!
You may also come across flavored rolling papers on the market – these can add an interesting twist to your joint but they do tend to burn faster than regular varieties due to their sugar content.
Finally, there are specialty rolling papers such as rice paper which can be used instead of standard wood pulp or hemp options if desired. Rice paper burns slower than other materials so it's great if you're looking for a longer lasting smoke session!
It's also worth noting that these types of paper can often have a slightly sweet flavor which some people find pleasant while others may not enjoy as much - so try before buying if possible!
Ultimately, choosing the correct type and size of rolling paper will depend on what kind of jointspliff you plan on smoking - whether it's small & simple or big & bold - so take time deciding what works best for your needs before lighting up!
After all “you get out what ya put in” when it comes down rollin' up those greens...
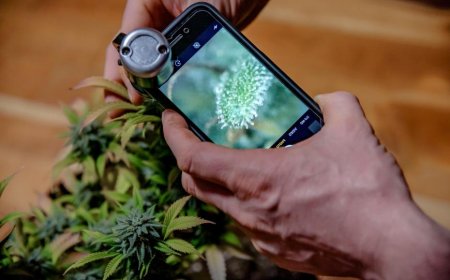
Grinding Your Cannabis
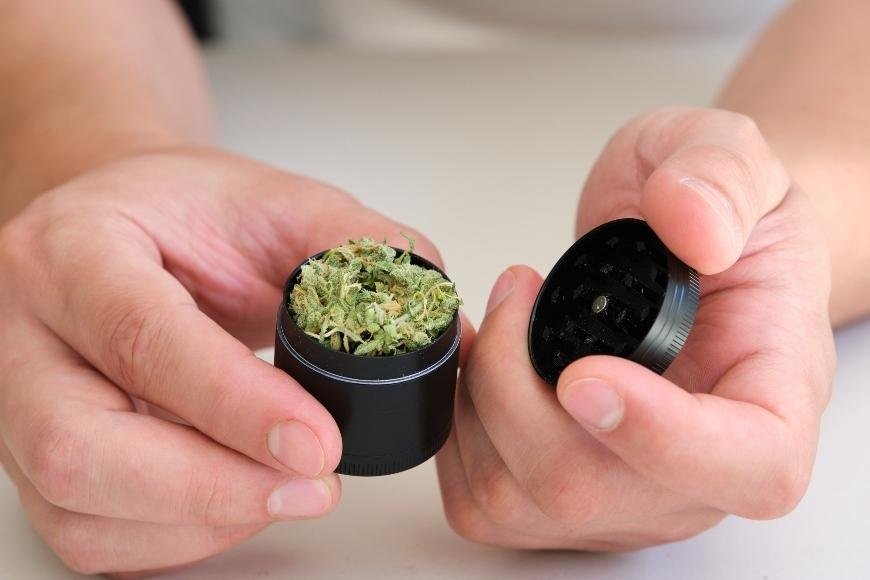
Grinding your cannabis is an essential step in the process of rolling a joint. Employing a grinder to reduce the cannabis into finer fragments can facilitate an even burn and deliver a more enjoyable smoking experience.
A grinder is the simplest way to break down your weed into smaller pieces, providing a medium-fine consistency without over-grinding. This device has two or more compartments, each containing sharp teeth that are designed to break apart the buds as they rotate against each other when turned on. It’s important not to over-grind as this can lead to uneven burning and wasted material, so stop grinding once you have achieved a medium-fine consistency. If you don’t have access to a grinder, scissors can also be used but it won’t produce as consistent results as using a dedicated device would.
Grinding your weed before rolling ensures that all of the particles are broken up evenly, making for an even smoke every time you take a puff from your joint. Additionally, it helps keep any stems or seeds out of the mix which can cause problems during smoking such as clogging up airways or making for harsh inhales due to their high concentration of oils and resins compared with other parts of the plant matter. Finally, properly ground cannabis takes up less space in your joint allowing for tighter packing and therefore longer lasting hits throughout its lifespan without having too much material waste at either end after smoking has finished taking place.
Grinding your cannabis is an essential step in the process of rolling a joint, as it allows for even burning and better airflow. Now that you know how to grind your weed, let's move on to creating the filter/crutch which will provide stability and structure for your joint.
Creating The Filter/Crutch
A filter or crutch is an essential part of rolling a joint. A filter or crutch is necessary to make rolling a joint more enjoyable, as it prevents the cannabis from slipping out and ensures an even burn without leaving any weed particles stuck in your teeth. Without it, you’ll end up with bits of weed stuck between your teeth when smoking – not cool.
Using cardboard or pre-made filters. Cardboard can be cut into thin strips and then rolled up into a cylinder shape that fits snugly inside the joint. Pre-made filters come in all shapes and sizes so you can choose one that best suits your needs.
When making a filter/crutch out of cardboard, start by cutting off any excess paper around the edges before folding it over itself lengthwise several times until it's about 0.5-1 cm thick. Then roll it tightly in one direction until you have created a tube shape that will fit comfortably inside your joint without being too loose or tight. Make sure to use scissors instead of tearing the paper as this will create jagged edges which could cause problems when smoking later on down the line.
If you're using pre-made filters, simply insert them into your joint before adding any cannabis material – they should fit perfectly if chosen correctly.
Creating a filter/crutch doesn't take much time but pays dividends in terms of quality control; taking care to make sure each puff is consistent throughout is key for enjoying every single hit like never before. So don't forget: grind first then add crutches for smooth sailing ahead.
Creating the filter/crutch is an essential step in rolling a joint, as it helps ensure even burning and reduces any potential mess. Let's progress to the following stages of forming your joint.
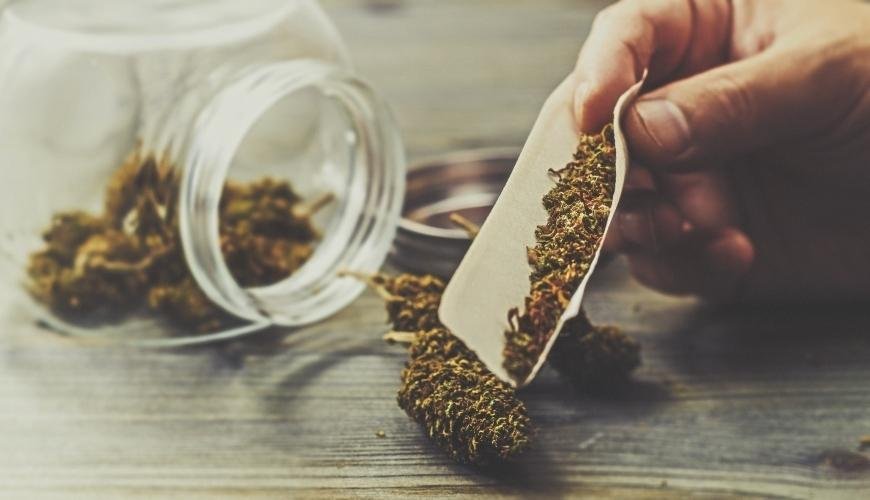
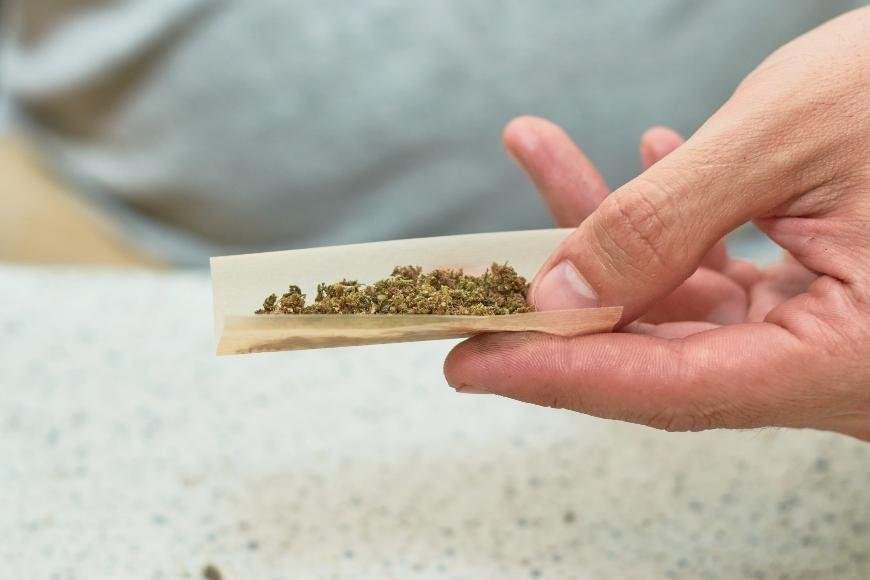
Rolling The Joint
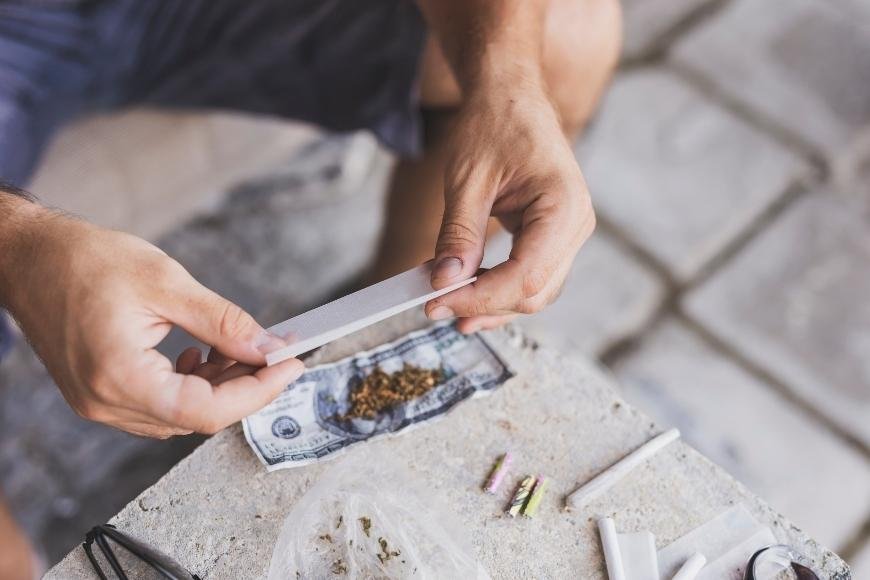
Rolling a joint is an art form that requires patience and practice. Choosing the right rolling paper is essential to ensure you get the best experience possible from your joint. For a more durable and smoother smoke, try hemp-based papers instead of traditional wood pulp ones.
Once you have chosen your rolling paper, it’s time to place your cannabis on it. It's important to evenly distribute the weed onto the paper before rolling so that each puff is consistent. You can use either a pinch method or sprinkle method depending on how much weed you are using and what kind of effect you want from smoking it. For larger amounts of cannabis, try sprinkling small amounts at once while rotating the paper until all areas are covered with even distribution; this will help ensure smooth burning throughout the entire joint session.
Rolling the spliff is an art that necessitates honing and composure, yet when you have it down pat you'll be able to take pleasure in a tranquil puff each time. With these finishing touches, your joint will be ready for smoking - so let's move on to sealing and making sure everything stays together.
Sealing And Finishing Touches
When it comes to sealing and finishing touches on a joint, you want to make sure that everything is secure and stays together during smoking. The first step is wetting the seal before closing. This helps ensure that your joint won’t come apart when you light up. To do this, simply lick the edge of the paper where it overlaps or use a dab of water from your finger. Then press firmly with your fingers along the seam to close tightly.
Next, pack your joint tightly for even burning as this will help keep it lit while smoking and also prevent any loose cannabis from falling out. Use a pen or other thin object to push down lightly on the weed inside so that there are no air pockets left in between puffs. Finally, twist off any excess paper at the end for an aesthetically pleasing look. Doing this will also help create an airtight seal so smoke doesn’t escape through any small openings near the tip of your joint.
With these tips in mind, you can now confidently roll joints like a pro. Grinding beforehand helps release flavor and aromas more efficiently and making sure all edges are sealed properly ensures each puff is consistent throughout its entirety - something every recreational drug user should strive for.
Conclusion
Constructing a joint can be simpler than one might think. With the right supplies, proper grinding technique and careful rolling process you can have your own perfectly rolled joint in no time. Remember to take your time when rolling a joint, practice makes perfect - so don't be afraid to give it another try if needed. Now that you know how to roll a joint like an expert, go ahead and enjoy this newfound skill with friends or by yourself.


