


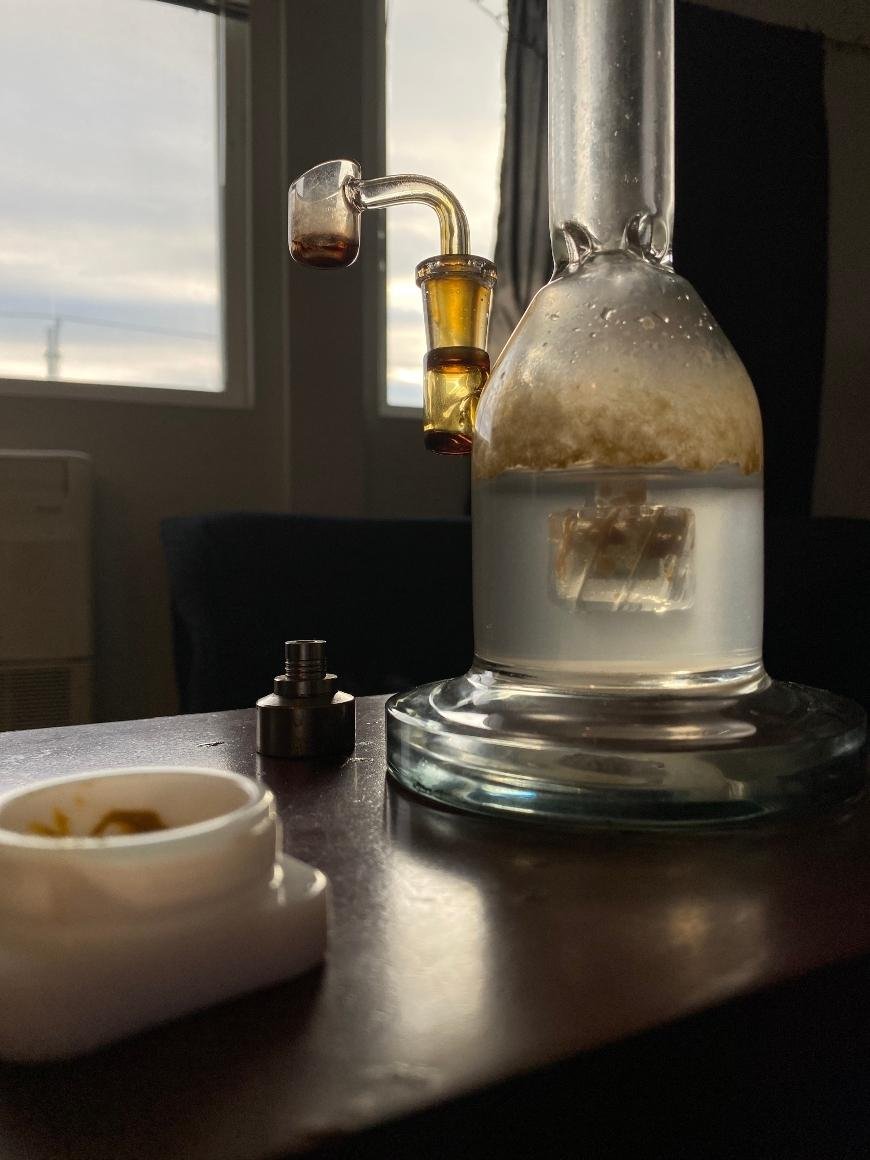
How to Clean a Dab Rig
Learn how to clean a dab rig with our easy step-by-step guide, ensuring optimal performance and taste for your cannabis concentrates.
When it comes to maintaining the optimal performance of your dab rig, knowing how to clean a dab rig is essential. Before starting the cleaning process, we'll provide you with a comprehensive guide to help keep your rig in top-notch condition.
Gather necessary materials and supplies before disassembling your dab rig for a thorough cleanse. Learn about various cleaning methods based on the type of dab rig you own and discover how to target specific areas that require extra attention.
Finally, we'll cover drying and reassembling your dab rig so it's ready for use once again. Additionally, understanding the benefits of regular cleaning will motivate you to keep up with this crucial maintenance routine. With our expert guidance on how to clean a dab rig, you'll enjoy smooth hits every time.
Table of Contents:
- Gather Necessary Materials and Supplies
- Disassemble Your Dab Rig
- Cleaning Methods Based on Type of Dab Rig
- Clean Specific Areas of Dab Rig
- Dry and Reassemble Dab Rig
- Benefits of Regular Cleaning
- Conclusion
Gather Necessary Materials and Supplies
Before you start cleaning your dab rig, it's essential to gather all the necessary materials and supplies. Having everything on hand will make the process smoother and more efficient. Here are some items you'll need:
- Isopropyl alcohol: A high-percentage isopropyl alcohol (90% or higher) is an effective cleaning agent for removing residue from your dab rig. You can find this at most drugstores or online.
- Salt: Coarse salt works as a gentle abrasive to help break down stubborn buildup in hard-to-reach areas of your rig. Kosher or Epsom salts are great options.
- Pipe cleaners and Q-tips: These tools come in handy when trying to clean small crevices within your dab rig, such as the banger or downstem.
- Cleaning solution (optional): If you prefer not to use homemade solutions, there are several commercial products available specifically designed for cleaning glass pipes and rigs.
- Gloves (optional): Wearing gloves while handling chemicals like isopropyl alcohol can protect your skin from irritation.
In addition to these materials, ensure that you have access to hot water for rinsing purposes during the cleaning process. Now that we've gathered our supplies, let's move on to disassembling our dab rig.
Disassemble Your Dab Rig
Before you begin cleaning your dab rig, it's essential to disassemble the device into its individual components. This will allow for a more thorough and effective cleaning process. Here are the steps to follow:
- Remove the banger or nail: Carefully unscrew or pull out the banger (or nail) from your dab rig. These parts can be fragile, so handle them with care.
- Detach downstem and percolators (if applicable): If your dab rig has a removable downstem or any additional percolator attachments, gently remove these as well.
- Gather all small accessories: Collect any other smaller components of your dab rig such as carb caps, reclaim catchers, and dropdowns.
Note that not all dab rigs have identical designs; some may have more complex structures than others. Be sure to consult your specific model's instructions if you're unsure about how to take it apart properly.
Maintaining an organized workspace during disassembly is crucial - lay out each component separately in order to keep track of them throughout the cleaning process. Additionally, make sure you store any delicate pieces safely away from potential hazards like hard surfaces or high-traffic areas while they await their turn for cleaning.
Rinse Components in Hot Water
Before diving into the cleaning process, it's essential to rinse all removable parts of your dab rig with hot water. This initial step helps loosen and remove any surface residue, making it easier for you to clean the components thoroughly later on. Follow these simple steps:
- Disassemble your dab rig: Carefully take apart your dab rig, removing any detachable components such as the banger or nail, downstem, and mouthpiece.
- Rinse with hot water: Hold each part under a steady stream of hot tap water. Make sure the temperature is not too high to avoid burning yourself or damaging delicate glass pieces. Gently rotate each component while rinsing to ensure all surfaces are exposed to the water.
- Avoid using soap: It may be tempting to use dish soap during this step; however, doing so can leave behind a soapy residue that negatively impacts flavor when you use your cleaned dab rig again. Stick with plain hot water for best results.
This preliminary rinse will make it much easier for you to tackle stubborn buildup during subsequent cleaning steps involving alcohol-based solutions or homemade mixtures like salt and vinegar. Remember that maintaining cleanliness is crucial for optimal performance and taste when enjoying concentrates through your favorite device.
Cleaning Methods Based on Type of Dab Rig
Depending on the type of dab rig you have and the severity of residue buildup, there are different cleaning methods to consider. The two most common approaches involve using alcohol-based cleaning solutions or homemade mixtures.
Alcohol-Based Cleaning Solutions
Isopropyl alcohol (90% or higher) is an effective solvent for removing stubborn concentrate residues from your dab rig. To clean your rig with this method:
- Pour enough isopropyl alcohol into a container to submerge the components completely.
- Add a small amount of coarse salt if desired, as it can help break down tough deposits.
- Allow the components to soak in the solution for at least 30 minutes, or until residue softens.
- Gently scrub each component with pipe cleaners or q-tips soaked in alcohol to remove any remaining debris.
Homemade Cleaning Solutions
Mix equal parts hot water and white vinegar to create a homemade cleaning solution that breaks down concentrate residues without harsh chemicals. This mixture effectively breaks down concentrate residues without harsh chemicals. Follow these steps:
- Pour equal amounts of hot water and white vinegar into a container large enough to hold all components.
- Add baking soda gradually while stirring continuously until fully dissolved.
- Submerge disassembled pieces in the solution for about an hour before gently scrubbing away any lingering residue with pipe cleaners or q-tips.
Keeping your dab rig clean is essential for optimal performance and longevity. By using these cleaning methods, you can ensure that your rig stays in top condition for all your dabbing needs.
Clean Specific Areas of Dab Rig
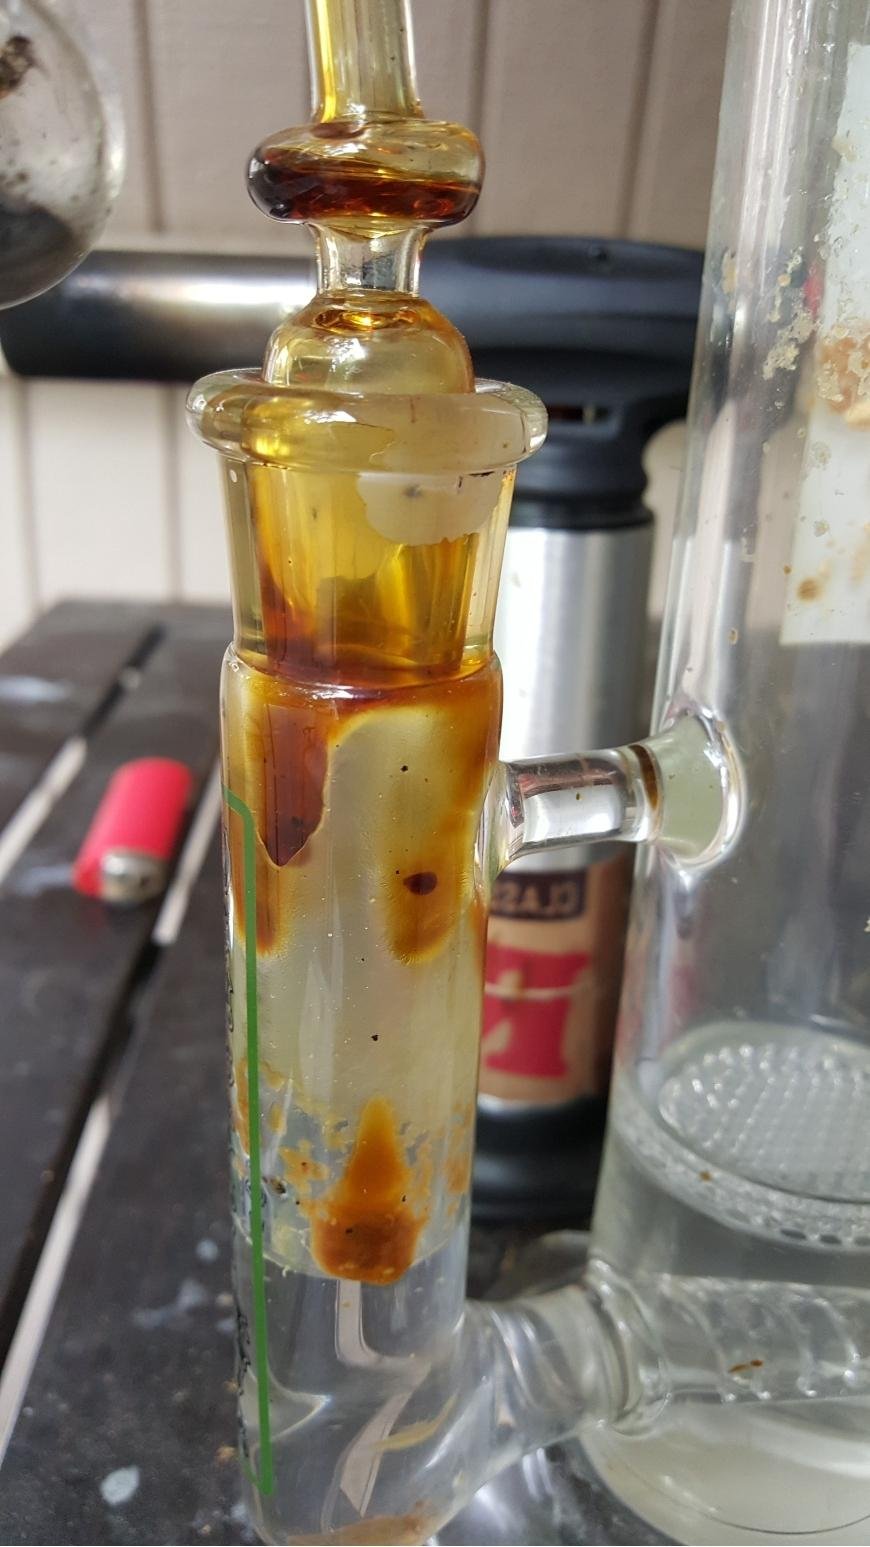
Effectively cleaning specific areas of your dab rig, such as the banger, downstem, and percolators, is crucial for maintaining optimal performance. These components tend to accumulate residue over time, which can affect the taste and potency of your dabs.
Banger Cleaning
The banger is where you heat up your concentrates before inhaling them through the rig. To clean it thoroughly:
- Dip a cotton swab in isopropyl alcohol.
- Gently scrub away any remaining residue from both sides of the banger's surface.
- Rinse with hot water to remove any leftover alcohol or debris.
Downstem Cleaning
The downstem connects the banger to the main body of your dab rig. Clean this component by following these steps:
- Detach it from the main body if possible.
- Fully submerge it in an alcohol-based cleaning solution or homemade mixture (e.g., equal parts warm water and vinegar).
- Let it soak for at least one hour or until most residues are dissolved.
- Use pipe cleaners or brushes to gently scrub away stubborn buildup.
- Rinse thoroughly with hot water before reattaching.
Percolator Cleaning
A percolator enhances filtration within your dab ring by diffusing smoke through water. To clean it effectively:
- Fill the main body of your dab rig with a cleaning solution or homemade mixture, ensuring that the percolator is fully submerged.
- Cover any openings and shake gently to dislodge residue from the percolator's interior.
- Rinse thoroughly with hot water until all traces of cleaning solution are gone.
Dry and Reassemble Dab Rig
After thoroughly cleaning your dab rig, it's crucial to let all components dry completely before reassembling. This step is essential for preventing moisture-related issues that could affect the performance of your device. Follow these simple steps to ensure proper drying and reassembly:
- Air-drying: Place each component on a clean towel or paper towels in an area with good air circulation. Wait a few hours for the components to dry out totally with air.
- Paper towel method: For smaller parts like the banger and downstem, you can use a paper towel to gently pat them dry after rinsing. Be careful not to apply too much pressure as this may cause damage.
- Q-tips: To remove any remaining water from hard-to-reach areas such as percolators, use q-tips or cotton swabs. Gently insert the q-tip into the openings and twist it around until all moisture is absorbed.
Once all components are fully dried, carefully reassemble your dab rig by following these steps:
- Banger attachment: Screw or attach the banger back onto its designated joint on the main body of your dab rig.
- Tighten connections: If applicable, secure any removable joints using silicone gaskets or O-rings provided by manufacturers.
- Add water: If required, fill your dab rig with the appropriate amount of water to ensure optimal percolation and filtration during use.
By following these drying and reassembly steps, you can maintain a clean and functional dab rig that provides an enjoyable experience every time.
Benefits of Regular Cleaning
Maintaining a clean dab rig is essential for several reasons, including preserving the taste, potency, and overall experience of your dabs. A dirty rig can negatively impact these factors, leading to subpar sessions and potentially even damaging your device. By regularly cleaning your dab rig, you'll enjoy numerous benefits:
- Better flavor: Residue buildup can alter the taste of your concentrates. Keeping your dab rig clean ensures that you're getting the true flavors from each strain.
- Potent hits: A clogged or dirty dab rig may not heat efficiently or allow proper airflow. This can result in weaker hits and wasted concentrate. Regular cleaning helps maintain optimal performance for potent dabs every time.
- Smoother experience: Clean percolators provide smoother filtration and cooling effects during use. Dirty percs may become less effective over time due to residue buildup.
- Extended lifespan: Taking care of your investment by keeping it clean will help extend its life and prevent damage caused by neglecting regular maintenance tasks.
To further enhance the quality of your dabbing sessions, consider investing in high-quality accessories such as dab tools, titanium nails, or quartz bangers. These products are designed to improve functionality while also being easier to keep clean than their lower-quality counterparts.
Incorporating regular cleaning into your routine doesn't have to be difficult - simply follow our comprehensive guide on how to effectively clean a dab rig, and you'll be well on your way to enjoying the best possible experience every time you use your device.
Conclusion
Keeping your dab rig clean is essential for ensuring a smooth and enjoyable smoking experience. By utilizing the methods described in this guide, you can easily take apart, clean and put back together your dab rig to maintain it in optimal condition.
Regular cleaning not only improves the taste of your concentrates but also prolongs the life of your equipment. With just a few simple tools and techniques, you can maintain a sparkling clean dab rig that will deliver consistently high-quality hits.


